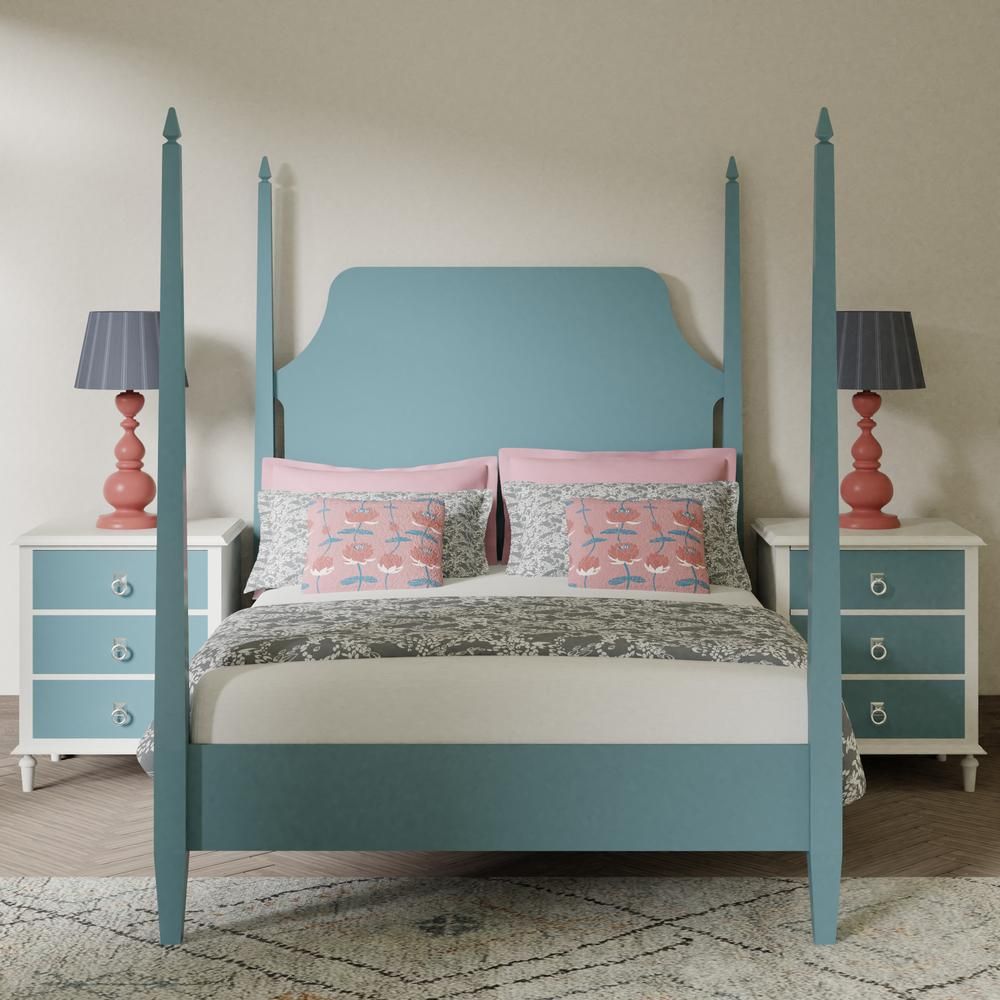
Are you staring at your bedroom furniture, wondering if a fresh coat of paint could give it new life? You’re not alone.
Painting your bedroom furniture can be a simple and affordable way to transform your space without buying new pieces. But can you really do it yourself? And what should you know before picking up that brush? Keep reading to discover how easy it is to refresh your furniture, the best tips to get a smooth finish, and how to avoid common mistakes that could ruin your project.
By the end, you’ll feel confident to start painting and create the bedroom look you’ve always wanted.

Credit: www.facebook.com
Benefits Of Painting Bedroom Furniture
Painting bedroom furniture offers many benefits that can transform your space quickly. It refreshes old pieces and creates a look that fits your taste. This simple update can make your room feel new without much effort or money.
Cost-effective Makeover
Painting furniture costs less than buying new items. A small amount of paint and supplies can renew worn-out pieces. This saves money while giving your room a fresh look. It is an easy way to change your bedroom without large expenses.
Personalized Style
Painting lets you choose colors and finishes that match your style. You can create unique furniture that suits your personality. This makes your bedroom feel more personal and special. It also allows mixing old and new styles easily.
Eco-friendly Choice
Painting furniture reduces waste by reusing old items. It helps keep furniture out of landfills. Choosing low-VOC paints supports a healthier environment. This small action contributes to a greener home and planet.
Choosing The Right Paint
Choosing the right paint for your bedroom furniture is crucial to achieving a look that lasts and truly reflects your style. The paint you pick affects not only the color but also the durability and feel of the furniture. Let’s break down what you need to know to make a smart choice that you’ll be happy with every day.
Types Of Paint For Furniture
Not all paints are made equal when it comes to furniture. You want something tough enough to handle daily use but easy enough to work with if you’re new to painting.
- Latex Paint:Water-based and easy to clean. It dries quickly and has low odor, making it a great choice for beginners.
- Chalk Paint:Popular for a matte, vintage look. It sticks well to surfaces without much prep and can be sealed with wax or varnish.
- Oil-Based Paint:Provides a smooth, durable finish but takes longer to dry and has stronger fumes. Ideal for heavy-use pieces.
- Acrylic Paint:Versatile and fast-drying. It’s good for detailed work and offers vibrant colors.
Which type fits your project depends on the look and use of the furniture. Are you aiming for a modern shiny dresser or a rustic bedside table?
Finish Options
The finish you choose will change how your paint looks and wears over time. It also impacts how easy it is to clean your furniture.
- Matte:No shine, great for hiding imperfections. It offers a soft, velvety look but can be harder to clean.
- Satin:A subtle sheen that balances elegance and practicality. It’s easier to clean and resists wear better than matte.
- Semi-Gloss:Shiny and reflective, perfect for furniture that gets a lot of use. It’s very durable and easy to wipe down.
- Glossy:The shiniest finish that highlights details and colors. It can show scratches easily but looks striking on statement pieces.
Think about your lifestyle and the furniture’s function. Would a glossy finish fit your bedroom vibe or would satin offer the right touch of durability?
Color Selection Tips
Choosing a color isn’t just about what looks good now, but what you’ll enjoy seeing every day. Your furniture’s color sets the tone for the whole room.
- Start by testing paint samples on a small, hidden area of your furniture. Watch how the color changes in different light throughout the day.
- Consider the room’s existing colors. Do you want your furniture to blend in or stand out as a focal point?
- Neutral colors like white, gray, or beige offer timeless appeal and make it easy to swap out bedding or décor.
- Bold colors like navy blue or emerald green can add personality but might be harder to match with future changes.
What feeling do you want your bedroom to evoke? Calm and restful or lively and energizing? Your color choice can guide that mood.
Preparing Furniture For Painting
Preparing bedroom furniture for painting involves cleaning, sanding, and removing old finishes. Proper prep helps paint stick better and creates a smooth surface. Taking time to prep ensures a fresh, durable look.
Preparing your bedroom furniture for painting is a crucial step in ensuring a flawless finish. Whether you’re revamping an old dresser or giving a new look to your nightstand, proper preparation sets the foundation for a successful painting project. Let’s dive into the essential steps to get your furniture ready for its transformation.Cleaning And Sanding
Begin by thoroughly cleaning your furniture. Dust, grime, and grease can interfere with paint adherence. Use a mild detergent or a vinegar-water solution to wipe down the surfaces. A clean start makes a huge difference. Once clean, it’s time to sand. Sanding helps remove old finishes and smooth out the surface. Use fine-grit sandpaper for better control. Remember, sanding is key to a smooth, even surface that will hold paint well.Repairing Imperfections
Inspect your furniture for any dents, scratches, or chips. Repair these imperfections using wood filler or putty. Filling these gaps ensures a uniform look. After filling, sand the repaired areas lightly. This ensures the repair blends seamlessly with the rest of the surface. Think of it as a little touch-up that makes all the difference.Priming The Surface
Priming is your secret weapon for a professional finish. It helps the paint stick better and prevents stains from showing through. Choose a primer suitable for your furniture’s material, be it wood, metal, or laminate. Apply the primer evenly using a brush or roller. Let it dry completely before moving on to painting. A well-primed surface is like a blank canvas ready for your creative touch. Are you ready to transform your bedroom furniture with a splash of color? With the right preparation, you’re already halfway there!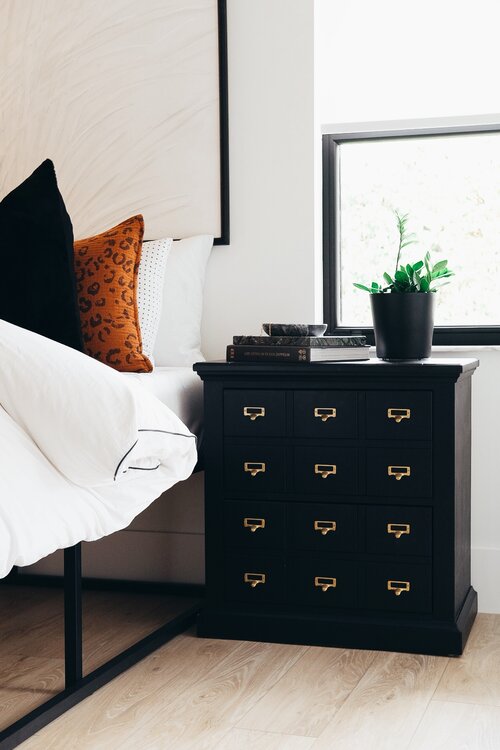
Credit: www.me-and-mrjones.com
Painting Techniques
Painting your bedroom furniture can transform a tired piece into a fresh statement. The right painting technique makes all the difference in how the final look turns out and how long it lasts. Understanding your options lets you choose the best approach for your style, skill level, and the furniture itself.
Brush Vs. Spray Painting
Brush painting gives you more control, especially on detailed or small pieces. It’s great for corners and edges where a spray might miss or cause drips. Plus, you can easily fix mistakes with a brush without starting over.
Spray painting covers large surfaces quickly and creates a smooth, even finish without visible brush strokes. However, it requires a well-ventilated space and some practice to avoid uneven coats or overspray. Have you tried both? You might find a combo works best—spray on flat areas and brush on trim.
Applying Multiple Coats
One coat rarely does the trick for a solid, durable finish. Applying multiple thin coats builds depth and prevents streaks or patchiness. It also helps the paint adhere better and resist chips.
Wait for each coat to dry completely before adding the next. Lightly sanding between coats with fine-grit sandpaper smooths the surface for the next layer. Do you have patience for this step? It pays off in the final look.
Creating Decorative Effects
Adding decorative effects can make your furniture truly unique. Techniques like distressing reveal layers of paint or wood underneath for a vintage vibe. Or try stenciling to add patterns without needing advanced painting skills.
Glazing or color washing adds subtle shading and depth, giving flat surfaces more character. Have you thought about combining effects? A soft glaze over a distressed finish can look stunning and professional.
Drying And Curing Process
The drying and curing process plays a vital role in painting bedroom furniture. Proper drying ensures the paint sets evenly and lasts long. Curing strengthens the finish, making it more resistant to chips and scratches. Skipping this step risks ruining your hard work.
Patience is key. Rushing through drying or curing can cause sticky or uneven surfaces. Understanding the right times and conditions improves the final result. This section breaks down essential tips for drying and curing painted furniture.
Optimal Drying Time
Paint needs time to dry before handling or adding extra coats. Most latex paints dry to touch within 1 hour. However, complete drying usually takes 4 to 6 hours. Oil-based paints need longer, often 6 to 8 hours or more.
Consider factors like temperature and humidity. Warm, dry air speeds drying. Cold or damp conditions slow it down. Avoid painting in extreme weather to ensure good drying.
- Wait at least 24 hours before light use.
- Allow 3 to 7 days for full curing.
- Check paint label for specific drying times.
Avoiding Common Mistakes
Many make errors that harm the paint finish. Avoid these to get smooth, durable results.
- Touching too soon:Paint may smudge or peel.
- Applying thick coats:Thick paint takes longer to dry and can crack.
- Skipping sanding between coats:This causes poor adhesion and rough texture.
- Ignoring ventilation:Proper airflow helps paint dry evenly and reduces fumes.
- Painting in high humidity:Moisture can cause bubbles and uneven drying.
Following correct drying and curing steps protects your painted furniture. It keeps the finish fresh and lasting for years.
Protecting Painted Furniture
Protecting your painted bedroom furniture is essential to keep it looking fresh and vibrant for years. Without proper care, even the best paint jobs can chip, fade, or scratch easily. Taking a few extra steps to seal and maintain your furniture can make a big difference in durability and appearance.
Sealing And Finishing
After painting your furniture, adding a protective finish is crucial. A clear topcoat like polyurethane, wax, or varnish creates a barrier against scratches, moisture, and daily wear. Choose a finish that matches your paint type—water-based paints pair well with water-based sealers, while oil-based paints need oil-based finishes.
Consider the finish’s sheen too. Matte finishes hide imperfections but might be less durable, while glossy finishes offer better protection but show scratches more easily. I once skipped sealing a dresser and noticed paint peeling within weeks; since then, I always apply at least two coats of clear sealer for extra strength.
Maintenance Tips
Keeping painted furniture in good shape requires gentle cleaning and mindful use. Avoid harsh chemicals and abrasive scrubbers that can wear down the paint. Instead, use a soft cloth dampened with mild soap and water to wipe surfaces regularly.
Think about where your furniture sits. Direct sunlight can fade paint quickly, so try to position pieces away from windows or use curtains to limit exposure. Also, placing felt pads under objects and furniture legs prevents scratches on painted surfaces.
Have you ever noticed small chips on your painted furniture? Instead of ignoring them, fix these spots promptly with a little touch-up paint. This simple action stops damage from spreading and keeps your furniture looking its best.
Creative Ideas For Bedroom Furniture
Painting your bedroom furniture is a fantastic way to refresh your space without buying new pieces. It lets you add personality and style that truly reflects your taste. Here are some creative ideas to inspire your next painting project and turn your bedroom furniture into eye-catching decor.
Two-tone Designs
Using two colors on one piece of furniture creates an interesting contrast that grabs attention. You can paint the body one color and the drawers or doors another. This approach works well with classic or modern furniture alike.
Try pairing a soft pastel with a bold color for a playful look. Or go for neutral shades like gray and white to keep things calm and chic. Have you considered which two colors in your room complement each other best?
Stenciling And Patterns
Adding stencils or patterns can turn plain furniture into a statement piece. You don’t need to be an artist to create beautiful designs; stencils make it easy to add shapes or motifs. Floral, geometric, or even abstract patterns can bring life to drawers or tabletops.
Think about using metallic paint for the stencil to add some shine. Or try a repeated pattern that matches your bedding or curtains for a coordinated look. What pattern would best express your personality on your furniture?
Distressed Look
Distressing paint gives furniture a charming, vintage vibe. You can achieve this by sanding edges and surfaces after painting. This technique works great if you want to keep a cozy, lived-in feeling in your bedroom.
Choose colors like white, cream, or muted pastels for a soft worn effect. The beauty of distressing is that no two pieces look exactly the same, giving your room unique character. Would you like your furniture to tell a story through its worn look?
Common Challenges And Solutions
Painting bedroom furniture can be a rewarding project, but it often comes with its own set of challenges. Knowing what issues might arise and how to fix them can save you frustration and help you achieve a professional look. Here are some common problems you might face and practical solutions to keep your furniture looking fresh and flawless.
Peeling Paint
Peeling paint is one of the most frustrating problems when painting furniture. It usually happens because the surface wasn’t properly prepped or the paint isn’t compatible with the material.
To avoid peeling, make sure to sand the furniture smoothly and clean off all dust before painting. Using a primer designed for your furniture type creates a strong base for the paint to stick to. If peeling occurs, gently scrape off loose paint, sand the area, and apply a fresh coat of primer and paint.
Uneven Coverage
Uneven coverage can make your piece look patchy and unfinished. This often happens when the paint is applied too thickly or the brush strokes are inconsistent.
Try using thin, even coats and allow each layer to dry completely before adding the next. Using high-quality brushes or rollers can also help distribute paint smoothly. If you notice streaks or bare spots, sanding lightly between coats can create a better surface for paint adhesion.
Paint Smudges
Paint smudges can ruin the clean look you want, especially on flat surfaces like drawers or tabletops. They often happen when you touch the paint before it’s fully dry.
Set a clear drying schedule and avoid handling the furniture until the paint cures properly. If you accidentally smudge the paint, wait for it to dry, then lightly sand the area and repaint. Keeping a dedicated, dust-free space for drying helps reduce accidental smudges too.
Credit: earthbornpaints.co.uk
Frequently Asked Questions
Can You Paint Bedroom Furniture Safely?
Yes, you can safely paint bedroom furniture by using non-toxic, low-VOC paints. Proper ventilation and surface prep are essential for a smooth finish.
What Type Of Paint Is Best For Bedroom Furniture?
Latex or acrylic paints work best for bedroom furniture. They dry quickly, offer durability, and come in many colors, making them ideal for indoor use.
Do I Need To Sand Furniture Before Painting?
Sanding is recommended to remove old finishes and create a smooth surface. It helps paint adhere better and ensures a professional-looking result.
How Long Does Painted Bedroom Furniture Last?
With proper prep and quality paint, painted furniture can last 5-10 years. Sealing with a clear topcoat increases durability and protects the paint.
Conclusion
Painting bedroom furniture can refresh any space quickly and affordably. It allows you to change colors and styles without buying new pieces. Proper preparation and choosing the right paint are key to good results. Small mistakes can be fixed easily with patience.
This simple project brings a personal touch to your room. Give it a try and enjoy the new look you create yourself.